 |
| Roomba at charge, click the image for a larger version |
Remove the tray and pop off the green decorative panel:
 |
| What have we here (click image above for larger version) |
Note the little black circle on the right
 |
| Mini din connector (click image to for larger version) |
The area encircled is a 7 pin mini din connector, click the image to get a better view. If your roomba was made after 2005 it should have one of these too.
Access to all sensor information and Roomba functionality is available via this port.
I picked up an 8 pin mini din connector in Maplins (a UK high street components retailer) for £1.79:
 |
| 8 pin micro din |
They didn't have a 7 pin, and the 8 pin is compatible with the connector, so don't worry. Farnell are also really good for components in the UK, if you don't mind waiting for delivery. So the plan is to build a cable to allow me to communicate with the Roomba, and get it to do fancy stuff.
Cable you say? Trailing around the flat as that mechanical contraption leads it on a merry dance? Are you quite mad sir?
My plan is to use an Arduino board, with a wireless module which will sit on top of the Roomba, allowing wireless communication between the Roomba, my home network and the internet.
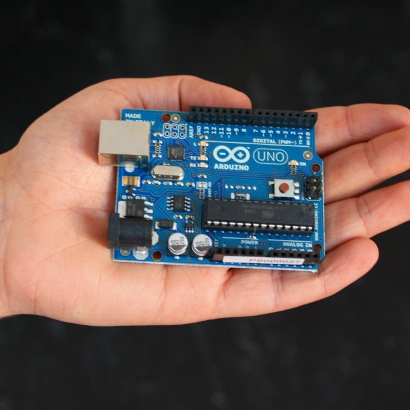 |
| Not my arduino, or my hand. |
An Arduino is an open source microcontroller allowing rapid prototyping and interfacing with other devices. You program it using the cross platform (Linux, Mac, Windows) development environment/ Additional hardware can be added in the form of 'shields', which are stackable on top of each other. There are a great deal of shields on the market, providing different features/functionality. I plan to use one shield to provide the wireless network functionality I require.
I happen to have an Arduino lying around, they're not terribly expensive. As it's open source there are several other implementations of the Arduino on the market, often referred to as clones. Some are application specific, for example the LilyPad, an Arduino compatible board aimed at wearable computing/sewable electronics. The schematics, all code and development environment are Open Source, so if you have the time and the skills you could build your own Arduino compatible board.
I digress. In my next post I'll describe the process of creating the cable.
For now I'll leave you with highlights of the 12/12/2011 LA Monome meetup, I wish I had been there:
No comments:
Post a Comment